Photo-editing with Persistence of Vision

There are more languages for scripting than are included in the current version of macOS, and it may very well be that in the future even the currently-installed languages will need to be installed. At the moment, the best way to install new languages and tools for the command-line is Homebrew
When I wrote 42 Astounding Scripts I deliberately left out languages that are not included with macOS. But if I had decided to relax that requirement, the language I would have relaxed it for would have been the Persistence of Vision Raytracer.
The easiest way to install it is probably using brew.
- $ brew install povray
This installs the latest version of Persistence of Vision available for macOS. The command is povray. I have two tutorials for using POVRay online already; the one I used to use in classes at the University is Simple Photorealism using Persistence of Vision. There’s also Persistence of Text which contains several smaller tutorials.
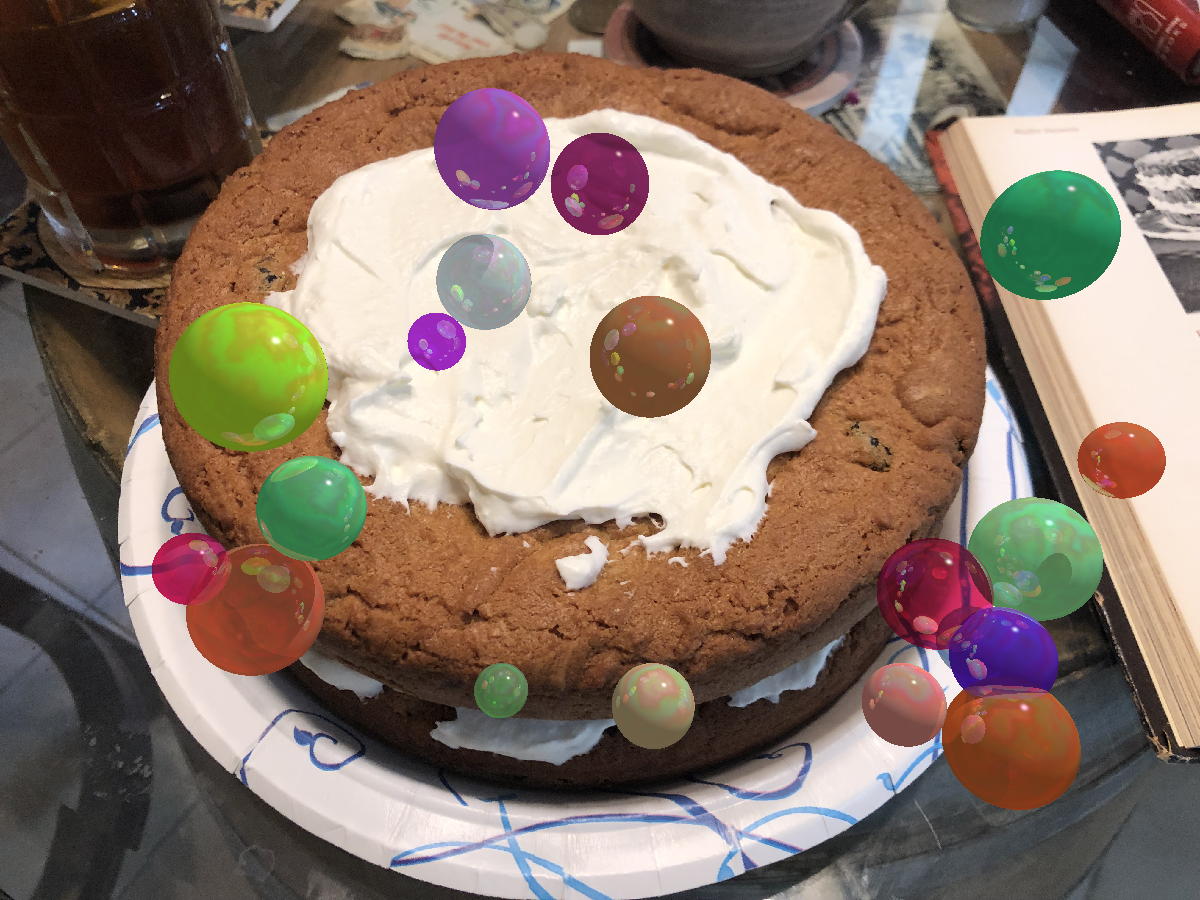
The povray command, unfortunately, does not support a shebang line, nor does it support accessing arguments on the command-line. This means that you cannot create standalone script files as you can with Perl or Python. You usually end up hardcoding the options into the file. For example, suppose you want to overlay a flock of brightly-colored transparent spheres in front of a photo.
[toggle code]
- // Jerry Stratton
- // AstoundingScripts.com
- #version 3.7;
-
global_settings {
- assumed_gamma 1.0
- }
- #declare aspectRatio = image_width/image_height;
- #include "screen.inc"
-
light_source {
- <20, 35, -2>
- color rgb <1, 1, 1>
- }
- Set_Camera_Location(<0, 0, -10>)
- Set_Camera_Look_At(<0, 0, 0>)
- //place the photo at the exact point in the background to fill the camera
-
#declare backgroundPhoto = texture {
-
pigment {
-
image_map {
- jpeg "RaisinCoconutTorte.jpg"
- }
-
image_map {
- }
-
finish {
- ambient 1
- diffuse 0
- }
-
pigment {
- }
- Screen_Plane(backgroundPhoto, 10000, <0,0>, <1,1>)
- //random seed
- #declare bubbleSeed = now*24*60*60;
- //known seeds
- //#declare bubbleSeed = 291893797;
- //#declare bubbleSeed = 2147483648;
- #warning concat("BUBBLE SEED IS ", str(bubbleSeed, 1, 0))
- //generate a random number from -limit to limit, centered on zero
- #declare randomSeed = seed(bubbleSeed);
-
#macro randomNumber(limit)
- //rand generates a random number from 0 to 1
- //subtracting .5 makes it -.5 to .5
- //multiplying by 2*limit makes it -limit to +limit
- (rand(randomSeed)-.5)*2*limit
- #end
- //counter is the number of spheres to place over the image
- #declare counter=20;
-
#while (counter > 0)
- #declare sphereLocation=<randomNumber(8)*aspectRatio, randomNumber(6), randomNumber(2)+8>;
- #declare sphereColor = rgb <rand(randomSeed), rand(randomSeed), rand(randomSeed)>;
- #declare sphereTransparency = randomNumber(.5)+.5;
- #declare sphereRadius = randomNumber(.5)+1;
-
sphere {
- sphereLocation
- sphereRadius
-
pigment {
- color sphereColor
- filter sphereTransparency
- }
- //give it a shiny finish
-
finish {
- ambient .2
- diffuse .6
- specular .75
- roughness .001
- reflection { .5 }
-
irid {
- 0.35
- thickness .5
- turbulence .5
- }
- }
- }
- #declare counter = counter - 1;
- #end
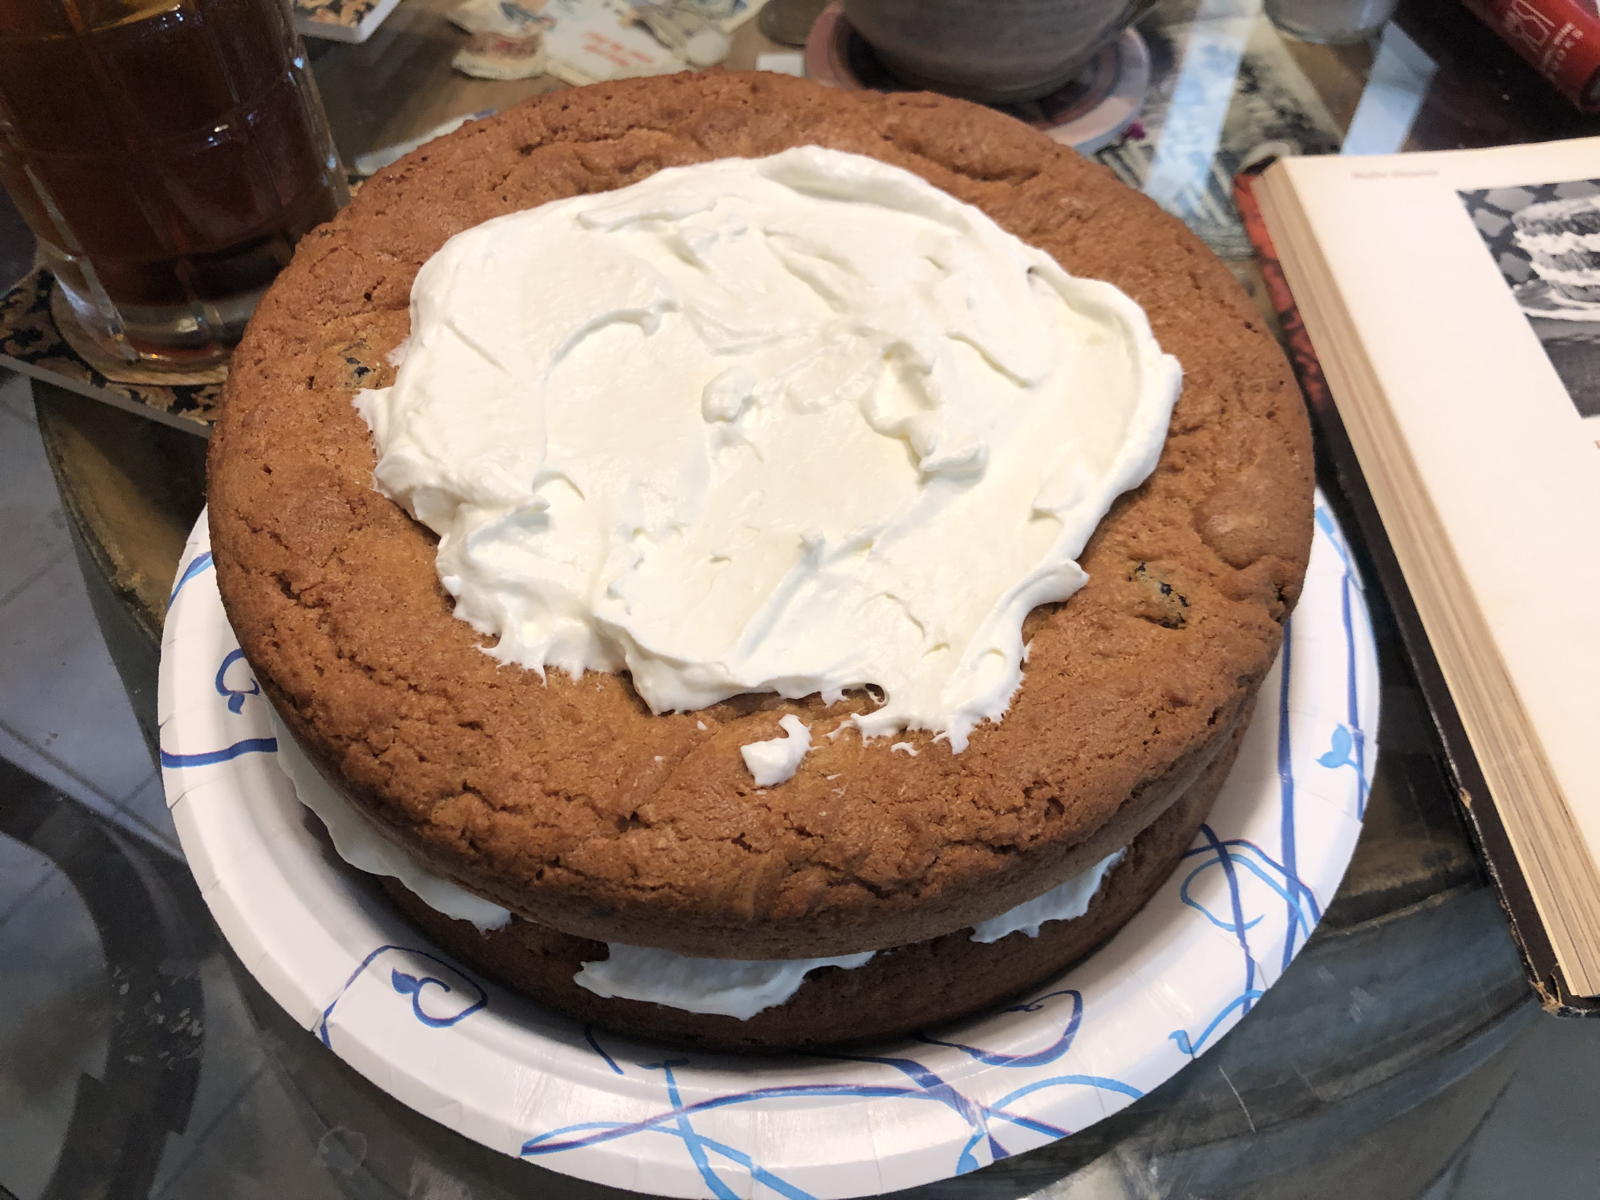
Save this as “bubblecake.pov”, download the cake photo here (JPEG Image, 238.7 KB) (or use a photo of your own) and use the command:
- povray bubblecake.pov Width=1200 Height=900
This will put twenty spheres on top of the photo.
Height and Width on the command line set the dimensions of the output image. They should be in the same ratio as the photo you’re using. This photo of a Raisin-Coconut torte from The Southern Living Fondue and Buffet Cookbook, for example, is 1600x1200. That’s a 4:3 ratio, wider than it is tall. 1200x900 is also a 4:3 ratio.
Persistence of Vision specifies locations in a 3-dimensional space of x (horizontal axis) y (vertical axis) and z (forward/backward axis). The virtual camera of this image is set to be right in the middle (0) of left/right and up/down, with a Z of -10, while looking at <0, 0, 0>. This means that it is sitting at <0, 0, -10> looking straight down the forward/backward axis toward that axis’s positive end.
There’s a light source up (at 35), right (at 20), and at -2 Z, which puts it up and to the right of the camera but between the camera and what the camera is looking at: -2 is between 0 (what the camera is looking at) and -10 (where the camera is).
The spheres are all located between -8 and 8 horizontally; -6 and 6 vertically; and 6 to 10 front/back. This puts them well beyond where the camera’s looking but obviously in the line of sight. The camera’s at -10, looking at 0, so that +6 to +10 further down that line.
Rather than have to hard-code into the scene file exactly where each of the spheres goes, the scene file uses a sort of random number generator. POV handles random numbers differently than most other languages, because consistency is essential when creating scenes. You provide the random number generator with a seed, an integer from 0 to 2,147,483,648. It then produces random numbers from that seed, and the random numbers will always be produced in the same order. This ensures that you can trust the scene not to change between renderings. Otherwise, we’d see a nice set of spheres over the image and go to render a higher quality version of the image, and they’d all be different again.
A great way to find a seed number is to use the password script from 42 Astoundingly Useful Scripts and Automations for the Macintosh.
- $ password --numbers 9
- 291893797
And then keep trying until you find a seed number that produces an image you like.
To try different seeds in this scene file, comment out the current bubbleSeed declaration by putting two slashes in front of it. Then, remove the two slashes from the declaration you want to use or add an entirely new #declare line.
If you want the spheres to be different every time you render the image, the common way to do it is by using POV’s “now” keyword. This produces the number of days, with fractions out to at least a second, since the start of January 1, 2000. Multiply it by 24 to get the random number to change every hour; by 24 * 60 to get the random number to change every minute; and by 24 * 60 * 60, as in the commented-out portion of the scene file, to get the random number to change every second.
That’s how this scene file works by default. It also outputs the seed number immediately after setting it, so that if you see a scene you like, you can reproduce it with that seed number. Just add it to the list of known seeds in the seed file.
As you can see from the scene file, Persistence of Vision supports some of the same standard scripting commands that other scripting languages do. In this case, the script—sorry, scene file—uses a while loop to create twenty bubbles at random locations and with random colors and sizes.1 Everything the #while and the #end will be repeated until counter drops down to zero.
Persistence of Vision lets you set the pigment and finish of any object. The pigment is basically the color; in this case, we set a random color with a random filter, which is a form of transparency. The finish is basically how the color interacts with the light and reflections in the area.
Colors in POV consist of red, green, and blue components; each component can range from zero to one. A hundred percent red, fifty percent green, and no blue, for example, would be color rgb <1, .5, 0>.
If you enjoy this, go through one of my tutorials, or one of the many tutorials for POVRay on the Internet. It really is a lot of fun to play with.
- 42 Astoundingly Useful Scripts and Automations for the Macintosh
- MacOS uses Perl, Python, AppleScript, and Automator and you can write scripts in all of these. Build a talking alarm. Roll dice. Preflight your social media comments. Play music and create ASCII art. Get your retro on and bring your Macintosh into the world of tomorrow with 42 Astoundingly Useful Scripts and Automations for the Macintosh!
- Homebrew
- “The missing package manager for macOS (or Linux)”
- Persistence of Text
- A series of useful Persistence of Vision tutorials, starting with the very basics of simple object creation and progressing to automation and the usefulness of math.
- POV-Ray
- POV-Ray is a ray-tracing program for Macintosh, Unix, DOS, and Windows. It is very powerful, full-featured, reliable, and free. It also uses a “programmer-style” interface rather than a graphical one. The tutorial that comes with it is well-written, so it’s worth a look .Persistence of Vision is very useful for those of us who like to automate our image creation. It uses a simple scripting language to build up complex 3-dimensional imagery.
- Simple Photorealism using Persistence of Vision
- Simple photorealism for people who can’t draw. This tutorial guides you through using the free Persistence of Vision ray-tracer. You’ll create a planet, with rings and an orbiting moon set against a starry background.
- The Southern Living Cookbook Library
- One of the best magazine-related cookbook series is also the one of the hardest to find. The Southern Living Cookbook Library appears to be under the radar of food writers online, but it either had a very low print run or few people want to get rid of their copies.
More Persistence of Vision
- Sparkling lights for Christmas
- This POV-Ray scene file will animate sparkling lights against a green background. If you want to make three dimensional images with lots of similar objects and then animate them, this will show you how to do it.
- Have a Merry Scripting Christmas with Persistence of Vision
- The ASCII Merry Christmas from Astounding Scripts was taken from a scene I created in Persistence of Vision. It’s a very simple scene that highlights many of the advantages of using POV to create images.
- Persistence of Vision tutorial
- A step-by-step tutorial, available under the Gnu Free Documentation License, on using the Persistence of Vision raytracer.

